
While working on some of my previous Sitecore projects, I had to create some custom field validators. Most of the time, the Sitecore beginners are stuck with such tasks, So I thought of writing it down here to help them in creating their first ever custom field validator. So we are going to use a validator that we create to validate the End Date.
- Creating the custom validator and inherit it from StandardValidator
using System;
using System.Runtime.Serialization;
using Sitecore.Data.Fields;
using Sitecore.Data.Items;
using Sitecore.Data.Validators;

namespace SitecoreTricks.Utils.Helpers
{

[Serializable]
class EndDateValidator: StandardValidator
{

public EndDateValidator()
{}

public EndDateValidator(SerializationInfo info, StreamingContext context) : base(info, context) { }

protected override ValidatorResult Evaluate()
{
Item item = base.GetItem();
DateField start = item.Fields["Start Date"];
DateField end = item.Fields["End Date"];
if (start.DateTime <= end.DateTime) return ValidatorResult.Valid; this.Text = $"The End Date ({end.DateTime}) should be equal to or greater than the Start Date ({start.DateTime})"; return ValidatorResult.CriticalError; } protected override ValidatorResult GetMaxValidatorResult() { return GetFailedResult(ValidatorResult.CriticalError); } public override string Name => "End Date Validator";
}
}
Note – We used the Serializable attribute and created a constructor as well to make sure that our custom validator works fine with validator button. If we don’t use Serializable attribute and constructor, the Validator button would throw an exception.
- Creating the custom Validation Rule in Sitecore
To get the custom date validator on work, we need to have a validation rule item defined in Sitecore (/sitecore/system/Settings/Validation Rules/Field Rules).
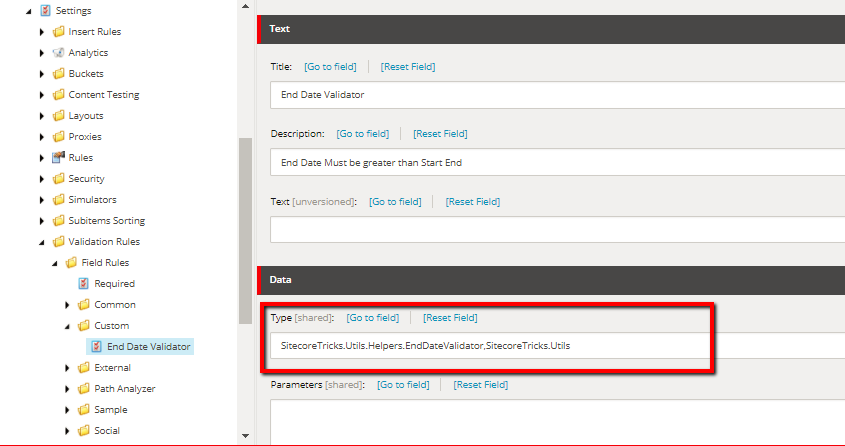
Note – Remember to use your namespace and class under the “Type” field. Also, provide the Title and Description.
- Now apply the validation rule on your field.
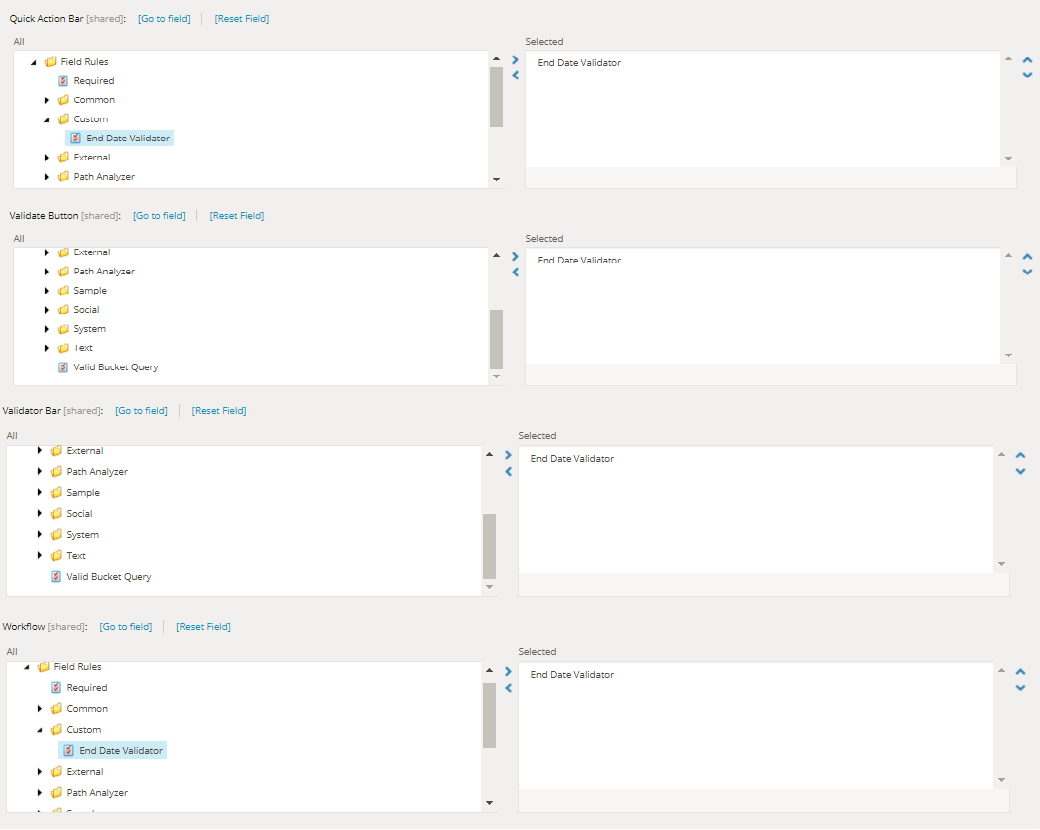
Go to your template and navigate to the field. Scroll down the content window and expand the “Validation Rule” section and that’s the place where you are going to use your custom field validator.
Here you will see four fields where you can use the validator. These four fields are as below
- Quick Action Bar – This will show you the validation error on bar left of the content tree.
- Validation Button – This will run the validation by clicking of the Validation button in review tab.
- Validation Bar – This will show you the validation result in bar right to the content editor.
- Workflow – this runs the Validation of workflow actions.
Below are the above four fields where I have selected my custom End Date Validator
- Now see the magic of your custom validator.
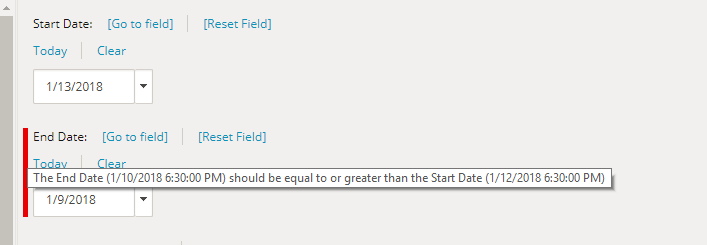
Create an item of the type of your template (in my case it is Event details) and the play with the End Date value and you will see the validation result on all the places where you have selected your validator in above image.
Validation Result for choosing the End Date Validator on Quick Action Bar will display as below
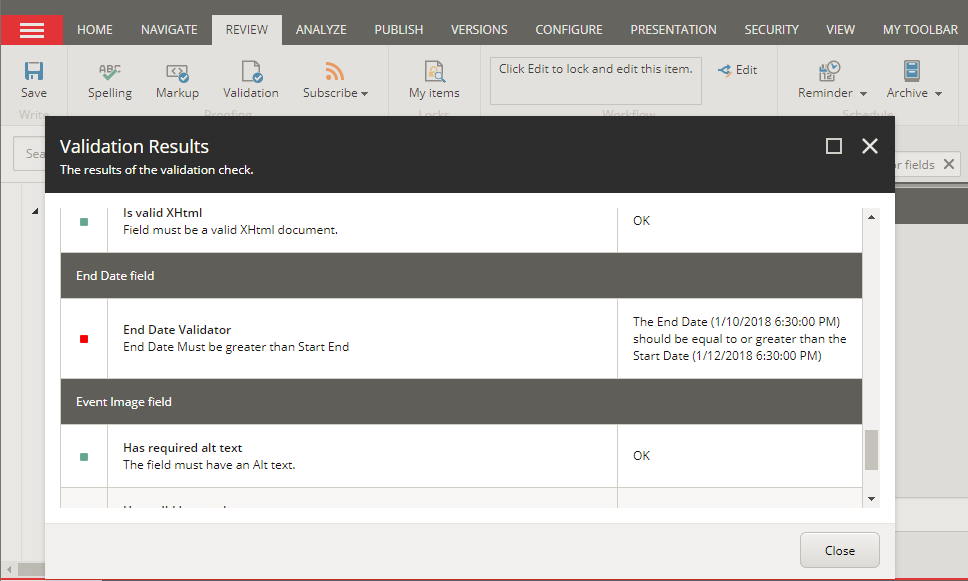
Validation Result for choosing the End Date Validator on Validation Button will display as below
Validation Result for choosing the End Date Validator on Validation Bar will display as below

So that’s how you are going to use your custom validator. But there are few more things to keep in mind which are as below.
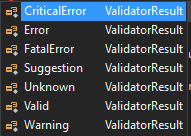
From our custom class, we are returning the “Critical Error” as result of validation failure, but there is some more result which can be returned here depending on the requirement.
- Suggestion
- Valid
- Warning
- CriticalError
- Error
- FatelError
- Unknown
That’s it. Now help your content editors by implementing the existing as well as by creating the custom validators.
